15 Jan 2015
Wow! It is already the middle of the first month of a new year. Man, time flies when you’re having fun. I haven’t posted lately due to December was a fairly busy guest month so not much going on in the way of big projects.
This doesn’t happen much at Silk Cotton Villa, but we had a last minute 5-day stay book in the middle of December. A group of 8, young twenty-something college folks. They seemed nice enough when I met them at the airport for the escort back to the villa.
As usual with all guests, we prepared them some “Welcome” snacks and after villa orientation, we retired back to our caretaker studio and off to bed around 10 pm. Phone rang around midnight. Guess who? Scared and lost kids in downtown STT and they had gotten separated from the other 4 in the group in a separate vehicle. They asked if I would come and get them. I said “Yes.”
Sharon got up with me and we headed off to get the first group who said they were at the STT Hooters down near where the cruise ships come in. I don’t think I have ever seen young strangers who were so glad to see me and Sharon than those kids – LOL. We asked where the other group was and were told they were lost at some beach. We finally determined they were at the entrance to Megan’s Bay – one of St Thomas’ world-famous beach attractions … you cruisers who have been here probably know it well.

Megan’s Bay as seen from Drake’s Seat
At midnight in STT, when all businesses are closed and shutdown, even the Hooters’ parking lot can seem a little intimidating and scary. And Megan’s Bay at night is very dark and deserted, not the postcard you see in all the travel brochures. I was sure that group couldn’t wait until we got there. And we did about 10 minutes later and they were also glad to see Sharon and I.
The villa is a short 2.5 mile ride back up the mountain from Megan’s so we had them back in 5 minutes or so. We suggested they not go out this late in the future unless they were more secure and confident in finding their way around STT.
Well, you know how college-aged kids are. They are going to party. And party they did …. into the wee hours of the mornings. Every night. We don’t believe they saw or enjoyed much of this beautiful island during daylight hours. Oh well. Their loss.
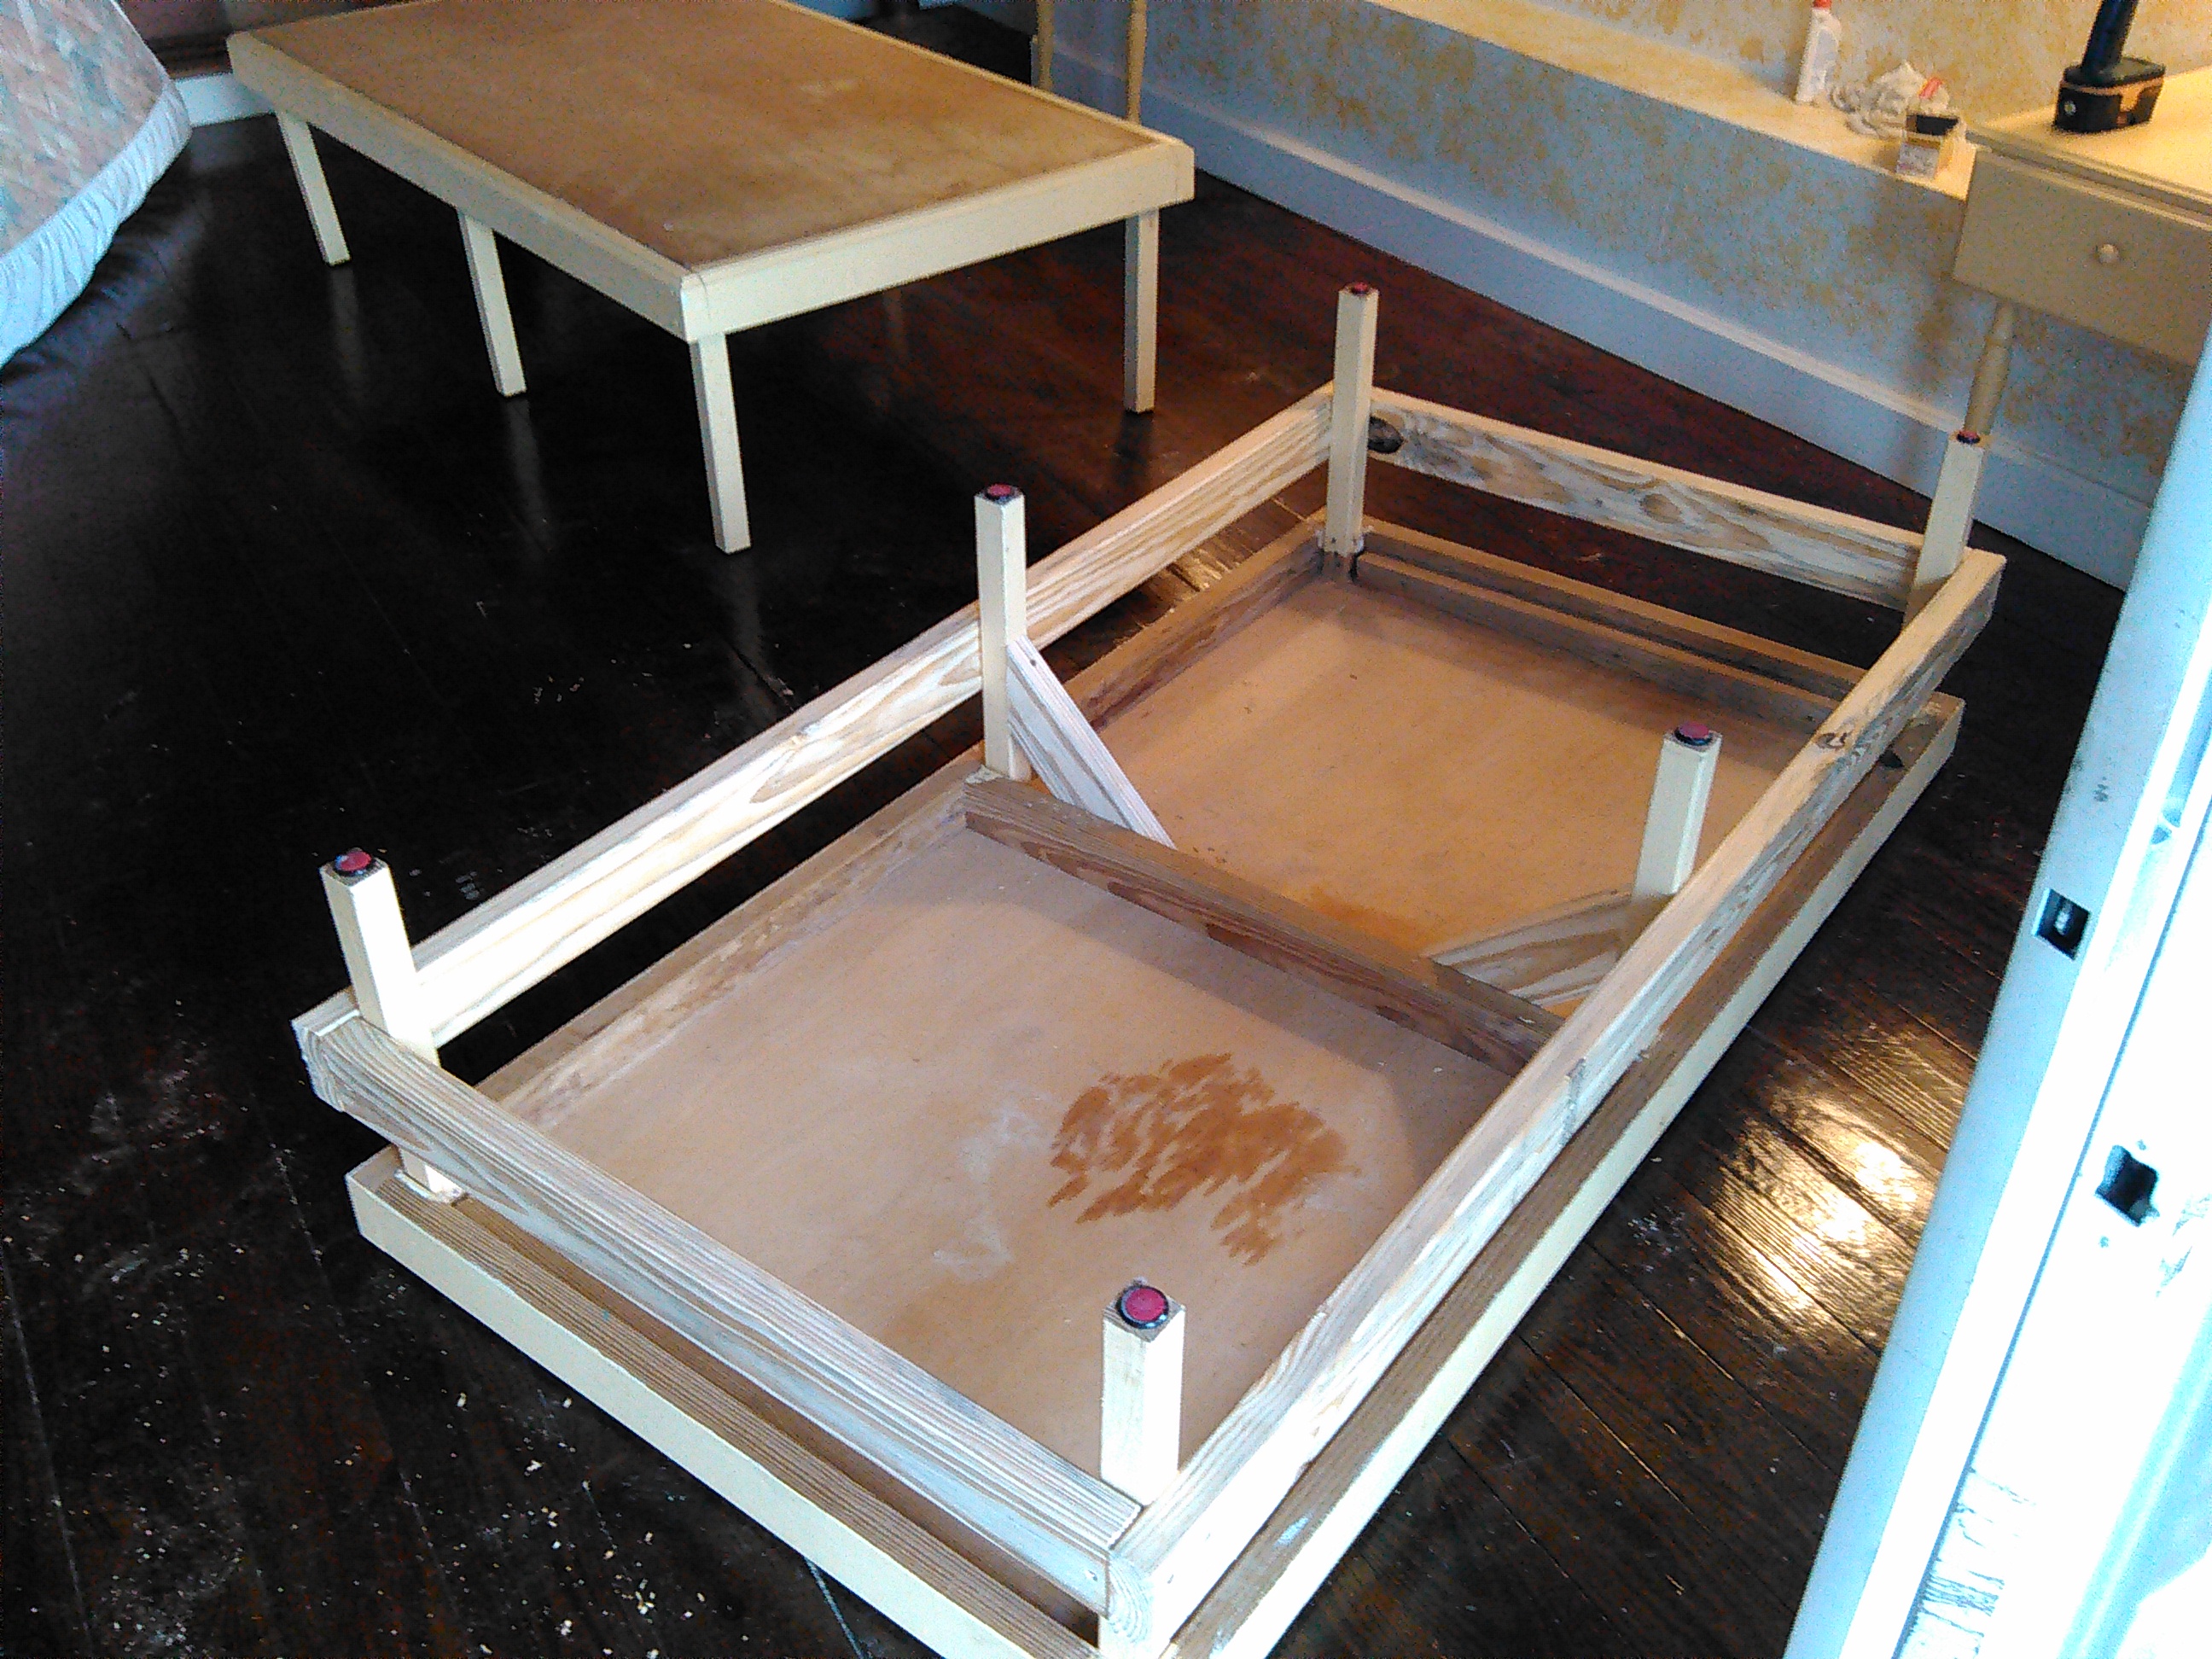
 After they departed for the airport and Sharon and I were doing a check of the villa, we discovered a BIG rip/tear in one of the big door roll-up screens in the main area of the villa that separates the interior area from the pool and patio. Oops. Appears someone went through a screen. Oops. No one bothered to report said screen damage. Oops. There goes your security deposit.
Renting out a villa, the owners (and us, too) know “stuff” happens. Ergo, a hefty security deposit. Occasional damage is just something that comes with the business. You deal with it, albeit sometimes getting repairs done by contractors can be time-consuming and drawn-out. Comes with the life of caretakers on an island in paradise.
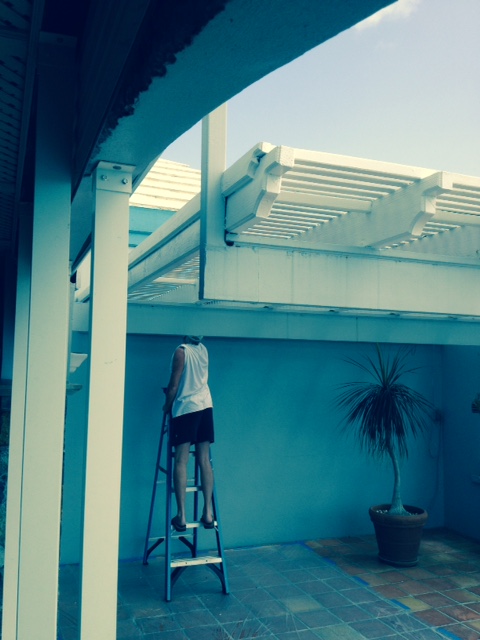
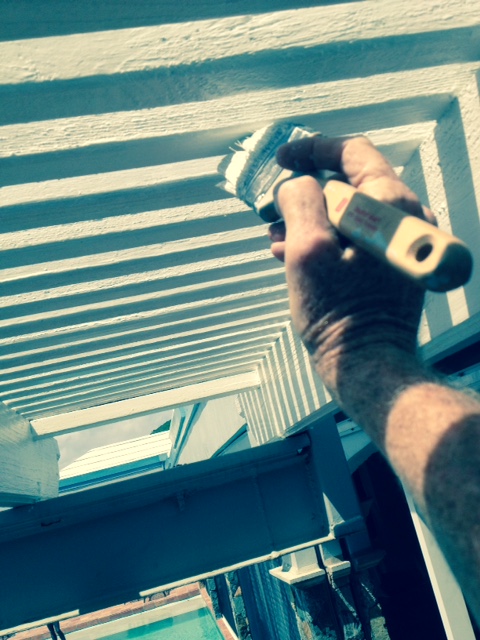
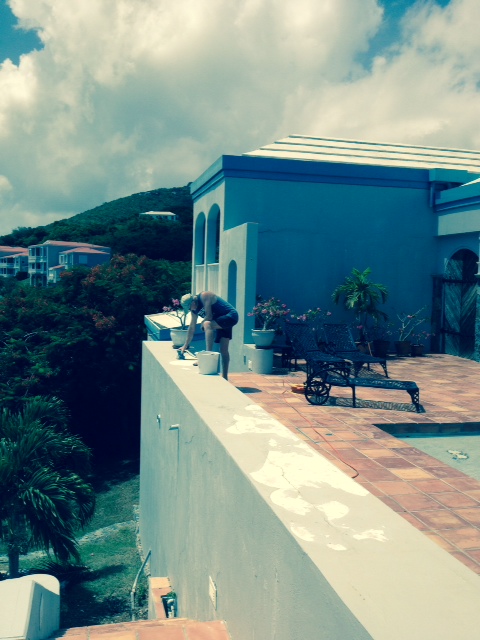
Below are some photos of the damaged screen and of the fellows who replaced the new screen. Notice the rigging they had to set up to work over the pool. “MacGyverism” at it’s finest! Just another day in the life of the “Working Couple.”

-

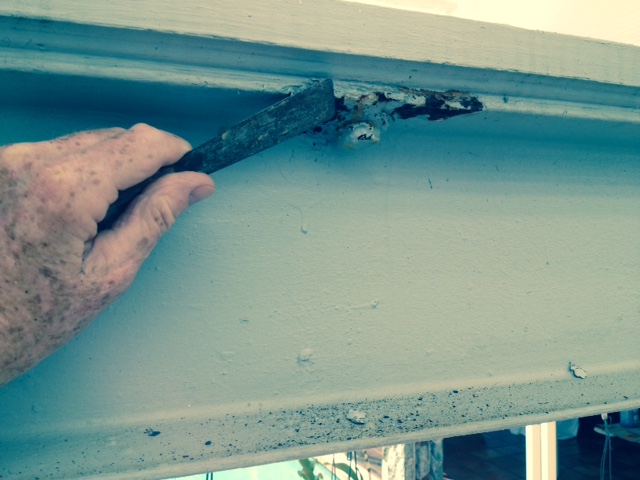
- The old, damaged screen removed.
-

- Beyond my pay grade. Old screen coming down. New screen bundled on ground.
-
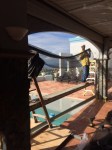
- Professionals at work.

-

- Don’t try this at home.